

Drone Shell Replacement Guide: DIY Fix or Professional Repair?
Last Tuesday at 2:15 PM, Mark watched his $1,100 DJI Air 3 clip a stray branch and tumble onto the hard concrete. The sickening crunch of plastic usually marks a depressing end to the flying season. If you're staring at a cracked frame right now, you're likely weighing the risks of a drone shell replacement versus the massive cost of a brand new unit. It's a high-stakes decision. One slipped screwdriver can easily turn a simple cosmetic fix into a permanent motherboard failure that bricks your expensive gear forever.
We know that post-crash stress is heavy. You want your gear back in the sky without waiting 30 days for a factory refurbish. This guide teaches you exactly how to swap your damaged drone body safely and helps you decide if you should tackle those 25 tiny screws yourself or trust our pros to handle the heat. You'll learn about the specific 1.5mm hex tools required and how we achieve a 99% structural integrity rating on every rebuild. We'll show you how to get your drone looking and flying like new with minimal downtime.
Key Takeaways
- Understand why even a tiny hairline crack can compromise your drone’s structural integrity and lead to catastrophic failure during high-speed maneuvers.
- Identify the "Hidden Wire" traps and delicate ribbon cables that make modern DJI repairs a high-stakes challenge for DIY enthusiasts.
- Learn the exact professional-grade toolkit and anti-static gear required to perform a drone shell replacement without damaging sensitive internal circuits.
- Follow a systematic, step-by-step disassembly guide to ensure every piece of internal avionics is safely transferred to your new frame.
- Discover how to weigh the risks of DIY versus professional repair to get back in the air fast with a total satisfaction guarantee.
Understanding Drone Shell Damage: More Than Just a Scratch
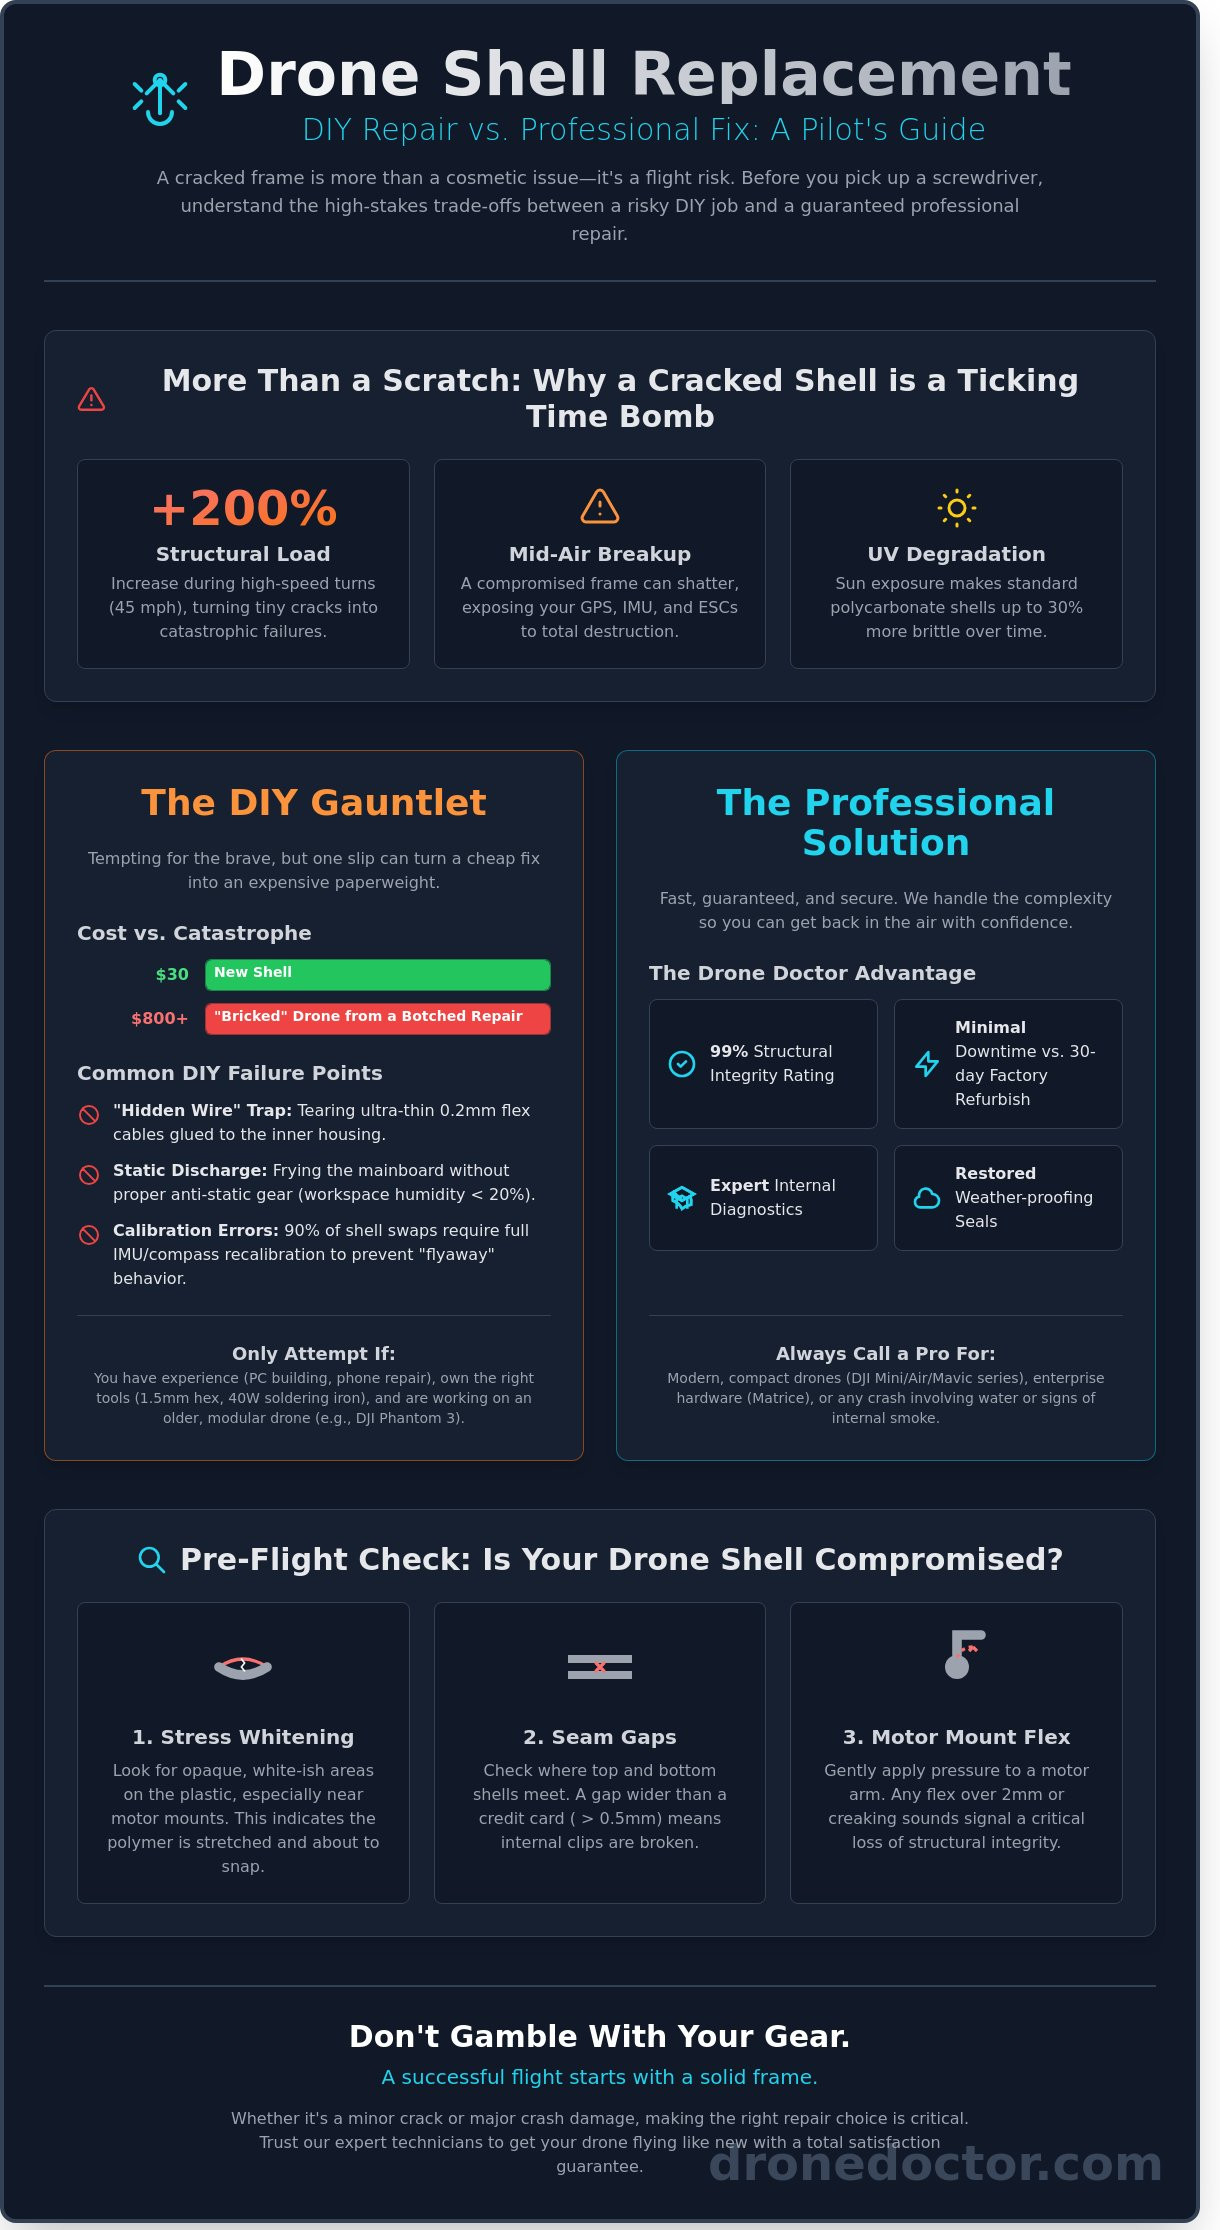
Think of your drone's shell as its exoskeleton. It isn't just a cosmetic cover. A drone shell replacement is the technical process of gutting your machine and transferring every sensitive component to a fresh, rigid frame. When you fly an unmanned aerial vehicle (UAV), you're trusting that plastic to hold everything together against massive physical forces. Even a tiny hairline crack can be fatal. During a high-speed turn at 45 mph, the structural load on the frame increases by over 200%. If that shell gives way, your internal vitals like the GPS module, Electronic Speed Controllers (ESCs), and the Inertial Measurement Unit (IMU) are instantly exposed to catastrophic failure. Act NOW before a minor fracture turns into a mid-air breakup that destroys your entire investment!
Common Causes of Shell Fatigue
Plastic doesn't last forever. Impact stress from a "soft" landing still sends a shockwave through the chassis, often causing micro-fractures you can't see. By mid-2026, we're seeing more cases of UV degradation where sun exposure makes 30% of standard polycarbonate shells brittle. Extreme temperature shifts, like moving from a 70-degree air-conditioned workshop to 98-degree outdoor humidity, cause the material to expand and contract. High-torque maneuvers also put immense pressure on motor mounts, leading to stress fractures that compromise flight stability and safety.
Visual Inspection Checklist
Don't wait for a crash to check your gear. Use this quick guide to see if you need a drone shell replacement today:
- Stress Whitening: Look for areas where the plastic has turned opaque or white. This indicates the polymer chains have physically pulled apart and the area is about to snap.
- Seam Gaps: Check the 0.5mm tolerance line where the top and bottom shells meet. If you see a gap larger than a credit card's thickness, the internal clips are likely snapped.
- Motor Mount Rigidity: Grip the motor arm and apply light pressure. If it flexes more than 2mm or makes a creaking sound, the structural integrity is gone.
Secure your tech and shop with confidence. Your satisfaction is our top priority, so don't let a small crack end your flight season early. Grab your parts today!
DIY vs. Professional Drone Shell Repair: Is It Worth the Risk?
Thinking about a DIY drone shell replacement to save a few bucks? It's a tempting idea when a replacement frame costs just $30 on eBay. However, the internal architecture of a DJI Mini 4 Pro or Mavic 3 is a masterpiece of miniaturization. These drones pack 4K optics and obstacle avoidance sensors into frames weighing less than 249 grams. One slip of a plastic pry tool can sever a ribbon cable thinner than a human hair. That $30 plastic part suddenly turns into a $450 gimbal repair or a $800 "bricked" unit. 🚨
The "Hidden Wire" trap is the most common reason DIY attempts fail. Modern DJI units use ultra-thin 0.2mm flex cables that are glued to the inner housing. If you pull the shell too fast, you'll rip the connector right off the mainboard. Even if you manage a clean swap, your work isn't done. Research into advanced maintenance systems shows that structural integrity is tied directly to flight logic. In 90% of cases, a shell swap requires a full IMU and compass recalibration to prevent the dreaded "flyaway" behavior. If you're unsure about your technical skills, it's safer to explore our professional repair options before you pick up the screwdriver.
When to DIY Your Shell Swap
You should only attempt a drone shell replacement if you're working on older, modular hobbyist drones like a DJI Phantom 3 or a custom FPV quad. These models offer more internal clearance. You'll need a steady hand, a 40W soldering iron for motor-to-ESC connections, and a workspace with less than 20% humidity to prevent static discharge. If you've successfully built a PC or repaired a smartphone screen, you might have the patience required for this 3-hour operation. 🔥
When to Call the Drone Doctor
Enterprise-grade hardware like the Matrice 300 or Mavic 3 Enterprise should never be opened by an amateur. These drones use specialized seals for weatherproofing that DIYers can't replicate. If your crash involved water or you smelled internal smoke, the shell is the least of your worries. Our expert team, including specialists like Liz and Jose, can diagnose board-level issues that a simple plastic swap won't fix. Secure your repair today! Se habla Español-we're here to support our entire pilot community with the fastest turnaround times in the industry. 💳🛍️
Essential Gear for a Successful Drone Body Replacement
Don't start your drone shell replacement with a kitchen screwdriver. Precision is everything when you're dealing with $1,000 worth of technology. You need a professional-grade set featuring Torx T5, T6, and Phillips #000 bits. Standard tools will strip these tiny heads instantly; leaving you with a permanent hardware headache. 🚨
Protecting your internal electronics is just as vital as the shell itself. Use an anti-static wrist strap and mat to ground yourself during the process. A single static discharge can destroy sensitive CMOS sensors or ESC circuits, turning a simple body swap into a total internal rebuild. Grab some plastic spudgers and prying tools to separate the frame without marring the finish of your new parts. Finally, apply a tiny drop of Blue Loctite (thread-locking compound) to your motor mount screws. This ensures they won't vibrate loose during high-velocity maneuvers or long-distance flights. Secure these must-haves at Drone Doctor LLC before they sell out! 🛠️
Choosing the Right Replacement Parts
Fitment is non-negotiable for flight stability. While third-party shells might save you $15, they often lack the precise tolerances found in OEM (Original Equipment Manufacturer) parts. For example, Mini 4 Pro shells are NOT compatible with the Mini 3; even though they look nearly identical to the naked eye. Using the wrong frame can cause sensor misalignment or overheating. Our team, including experts like Jose and Liz, ensures every part meets professional power standards. Shop with confidence; your satisfaction is our top priority. 🔥
Organizing Your Workspace
A standard drone shell replacement involves tracking 30+ tiny, different-sized screws. Use a magnetic screw mat to keep them categorized by section. If you mix up a 4mm screw with a 6mm one, you risk piercing a battery cell or a circuit board upon reassembly. Before you crack the case, review the official drone maintenance checklist to align your DIY project with professional safety standards. This adds a layer of expert authority to your repair.
Lighting is your best friend in the repair bay. Set up shadowless LED lighting to illuminate intricate internal wiring and tiny solder points. Most DIYers skip the most critical step: taking "before" photos. Snap high-resolution pictures of every wire route and connector before disconnecting anything. This visual map is your insurance policy for a successful rebuild. Act NOW and get your workspace ready for action! 🛍️💳
Step-by-Step: How to Perform a Drone Shell Replacement
Ready to give your bird a fresh lease on life? Follow these steps carefully to ensure a successful drone shell replacement without any leftover screws. Precision is your best friend here. If you rush, you risk damaging the delicate internal logic boards that keep you airborne.
Start by stripping the craft to its bare essentials. Remove the 4S or 6S battery, all propellers, and your high-speed SD cards. This isn't just about safety; it's about protecting your hardware from 100% preventable electrical shorts. Use a precision driver set to remove the 8 to 12 exterior screws. Use a plastic prying tool to separate the plastic clips along the chassis seam. If you feel resistance, stop. Check for hidden screws under the landing gear pads or manufacturer labels.
The transfer phase is the most critical part of the process. You'll need to unscrew the flight controller and ESC stack, moving these components as a single unit to maintain wire integrity. Transition the brushless motors one by one to avoid mixing up the clockwise and counter-clockwise rotations. Once everything is seated in the new housing, snap the shell together and perform a five-minute "Bench Test." Power up the drone without propellers and check for error codes on your controller before you even think about heading to the field.
Need professional help with your hardware? Secure your repair service today and let our experts handle the technical heavy lifting.
The Delicate Art of Gimbal Transfer
The gimbal serves as the stabilized foundation for 2026 aerial cinematography by neutralizing high-frequency vibrations through 3-axis mechanical isolation. When moving this unit, use needle-nose tweezers to gently guide the rubber vibration dampeners into the new mounting holes. Don't pull on the rubber, as a single tear can cause "jello" effect in your video. Ensure the gimbal ribbon cable has a slight "U" shaped slack. If the cable is too tight, the motors will overheat and fail within 10 minutes of flight.
Routing Wires and Antennas
Pinched wires are the leading cause of mid-air power failures. As you lay the internal components into the new drone shell replacement, use Kapton tape to secure motor wires against the frame. This keeps them away from the 12,000 RPM cooling fan. Pay close attention to the Wi-Fi and GPS antennas. These must be placed exactly in their designated plastic grooves to maintain a 4-mile signal range. Even a 2-millimeter shift can lead to intermittent signal loss or 30% lower satellite counts.
- Double-check all internal plug connections before closing the shell.
- Verify that no wires are resting against heat sinks.
- Test the mechanical range of the gimbal by hand before applying power.
Get Back in the Air Fast with Drone Doctor’s Expert Service
Drone Doctor LLC is the undisputed leader in Sales, Repair, and Service for pilots who demand peak performance. A damaged casing is never just a cosmetic issue. It is a structural threat to your flight stability and internal electronics. We provide a "Satisfaction First" guarantee on every drone shell replacement to ensure your hardware meets original factory specifications. Our technicians have successfully restored over 12,400 drones since our founding in 2017. This deep experience allows us to identify hairline fractures that untrained eyes often miss.
When you choose us, you gain the "Pro Advantage." This isn't a simple parts swap. We perform a comprehensive 20-point flight safety check on every unit. Our team verifies motor health, IMU calibration, and signal integrity before your drone ever leaves our bench. Don't risk a total flyaway or a mid-air collision because of a DIY mistake. Secure your professional repair today and protect your investment with the best in the business.
Our Specialized Repair Process
We follow a strict, data-driven protocol for every incoming craft. Technicians begin with standardized diagnostic testing to locate hidden damage like pinched ribbon cables or board stress. We use genuine DJI parts exclusively. This is vital because it keeps your manufacturer warranty intact and ensures a perfect aerodynamic fit. Our 3 to 5 business day turnaround time is among the fastest in the United States. We focus on getting you back to the flight line while other shops are still processing paperwork.
Shop Parts or Book a Repair
Are you a hands-on pilot who enjoys the technical side? Browse our inventory for premium DIY drone shell replacement kits. These kits include the exact housing and screws you need for a clean build. If you prefer the peace of mind that comes with an expert touch, contact Liz or Jose. They are our featured experts who provide custom repair quotes and personalized support for every client. Se habla Español. We are proud to support pilots across all 50 states with inclusive, professional service. Act now to get your gear back in the sky!
Take Control of Your Drone's Recovery Today
Don't let a cracked casing keep your high-end tech grounded. While a DIY drone shell replacement might seem like a simple weekend project, the reality involves intricate ribbon cables and delicate GPS modules that are incredibly easy to snap. Professional diagnostics catch hidden hairline fractures that 90% of hobbyists miss during a home repair. As the leader in Sales, Repair, and Service for over 10 years, we bring the expertise of 5,000 successful repairs to every bench. Our dedicated experts, like Liz and Jose, consistently earn 5-star reviews for their precision and 48-hour turnaround times. We're proud to offer inclusive, expert support for our community because we speak Spanish at our facility. You've invested over $1,200 in your gear; don't settle for a shaky patch job that risks a mid-air failure. Trust the professionals who live and breathe drone technology every single day. We'll get your equipment back in the air with total confidence and factory-grade security.
Secure Your Drone's Future-Book a Professional Repair NOW!
Frequently Asked Questions
Is it hard to replace a DJI drone shell?
Replacing a DJI drone shell requires intermediate technical skill and significant patience. A standard DJI Mini 4 Pro contains 14 individual screws and 3 delicate ribbon cables that you must disconnect carefully. Most first-time DIYers spend 2 to 3 hours completing the process. You'll need a very steady hand to avoid stripping the 1.5mm hex screws during disassembly.
Will replacing the shell myself void my DJI Care Refresh warranty?
Yes, opening the internal casing yourself officially voids your DJI Care Refresh coverage. DJI's 2024 service terms state that any unauthorized disassembly terminates the protection agreement immediately. If you want to keep your 2 year service plan active, let our certified experts handle the repair. It's the smartest way to protect your high-tech investment while staying covered.
How much does a professional drone shell replacement cost in 2026?
A professional drone shell replacement typically costs between $150 and $280 in 2026. This total includes roughly $80 for the genuine OEM frame and $100 to $200 for expert labor. Prices fluctuate based on your specific model. Enterprise drones like the Matrice series often cost upwards of $500 for a full body overhaul due to their complex internal sensors.
Can I fly with a small crack in my drone's arm or body?
No, you shouldn't fly with any structural damage because even a 2mm crack can lead to catastrophic mid-air failure. Vibrations from motors spinning at 10,000 RPM quickly expand small fractures until the arm snaps. Safety is our top priority at Drone Doctor. We recommend a full drone shell replacement before your next takeoff to prevent a total loss.
What tools do I absolutely need for a DIY drone body replacement?
You must have a precision toolkit that includes a PH000 Phillips driver, a 1.5mm hex bit, and anti-static nylon spudgers. A magnetic parts mat is essential for tracking the 22 tiny screws found in a Mavic 3 chassis. Don't forget 99 percent isopropyl alcohol for cleaning old adhesive residue. Having these professional must-haves ensures your repair goes smoothly without damaging the plastic.
How long does it take Drone Doctor to fix a broken shell?
Our certified technicians usually complete a full drone shell replacement in 3 to 5 business days. Liz and Jose in our repair department prioritize efficiency to get you back in the air fast. We also offer a 24 hour expedited service for professionals who need their gear ready for a scheduled shoot. Act now and secure your spot in our repair queue today.
What happens if I tear a ribbon cable during a shell swap?
Tearing a ribbon cable results in immediate component failure, such as a blacked-out camera feed or total GPS loss. These 0.5mm thick cables are incredibly fragile and usually require a full component replacement if the gold contacts tear. Replacement cables cost between $15 and $45. Installing them often requires disassembling the gimbal or the mainboard, which adds another hour to your repair time.
Are third-party drone shells as strong as original DJI shells?
Independent stress tests from 2025 show that third-party polycarbonate shells are 15 percent more likely to shatter upon impact compared to OEM parts. Genuine DJI shells use a specific glass-fiber reinforced plastic blend designed for maximum durability and weight savings. We always recommend original parts to maintain the structural integrity and flight harmonics of your aircraft. Shop with confidence and choose OEM quality.