

Drone Propeller Replacement: The Complete Step-by-Step Guide
There's nothing worse than the sound of a prop strike, followed by the sight of your drone grounded and out of action. The frustration is real, and the questions can be overwhelming. Am I buying the right parts? What if I install them incorrectly and cause a bigger crash? Don't let a simple fix keep you from flying! At Drone Doctor, we turn that uncertainty into action. We're here to show you that a fast, safe, and successful drone propeller replacement is totally within your reach.
This is your complete, step-by-step mission briefing! We're cutting through the confusion to give you the confidence you need. You'll learn exactly when a prop needs changing, how to pick the perfect replacements for your specific model, and the pro-level technique to install them flawlessly. Get ready to eliminate those nasty vibrations and get back to capturing stunning aerial footage. Your drone belongs in the sky-let’s get it there, NOW!
Key Takeaways
- Learn to spot the subtle signs of propeller damage-like nicks, warping, and stress marks-before they lead to a catastrophic failure.
- Ensure peak performance and safety by choosing the correct replacement propellers; we'll show you how to find the perfect match for your drone.
- Master the quick and easy process of drone propeller replacement with our expert walkthrough for the most common attachment systems.
- Discover the essential post-replacement checks on the ground that will prevent a costly accident once you're back in the air.
First, Inspect: When Should You Replace Drone Propellers?
Let's get straight to the point: flying with damaged propellers is the number one cause of preventable drone crashes. Don't risk it! Your drone's props are high-performance airfoils, precision-engineered to provide lift, stability, and control. Even a tiny imperfection can throw off the entire system, leading to catastrophic failure mid-flight. While you don't need a degree in aerodynamics, understanding the basics of propeller design and theory highlights why their perfect condition is non-negotiable for safe operation. Making a pre-flight prop inspection a rock-solid habit is the first step in any successful flight mission.
Here’s exactly what to look for to avoid disaster and keep your investment safe.
Visual Signs of Damage
Your eyes are your best tool. Before every flight, give each propeller a close-up inspection. Grab a bright light and look for:
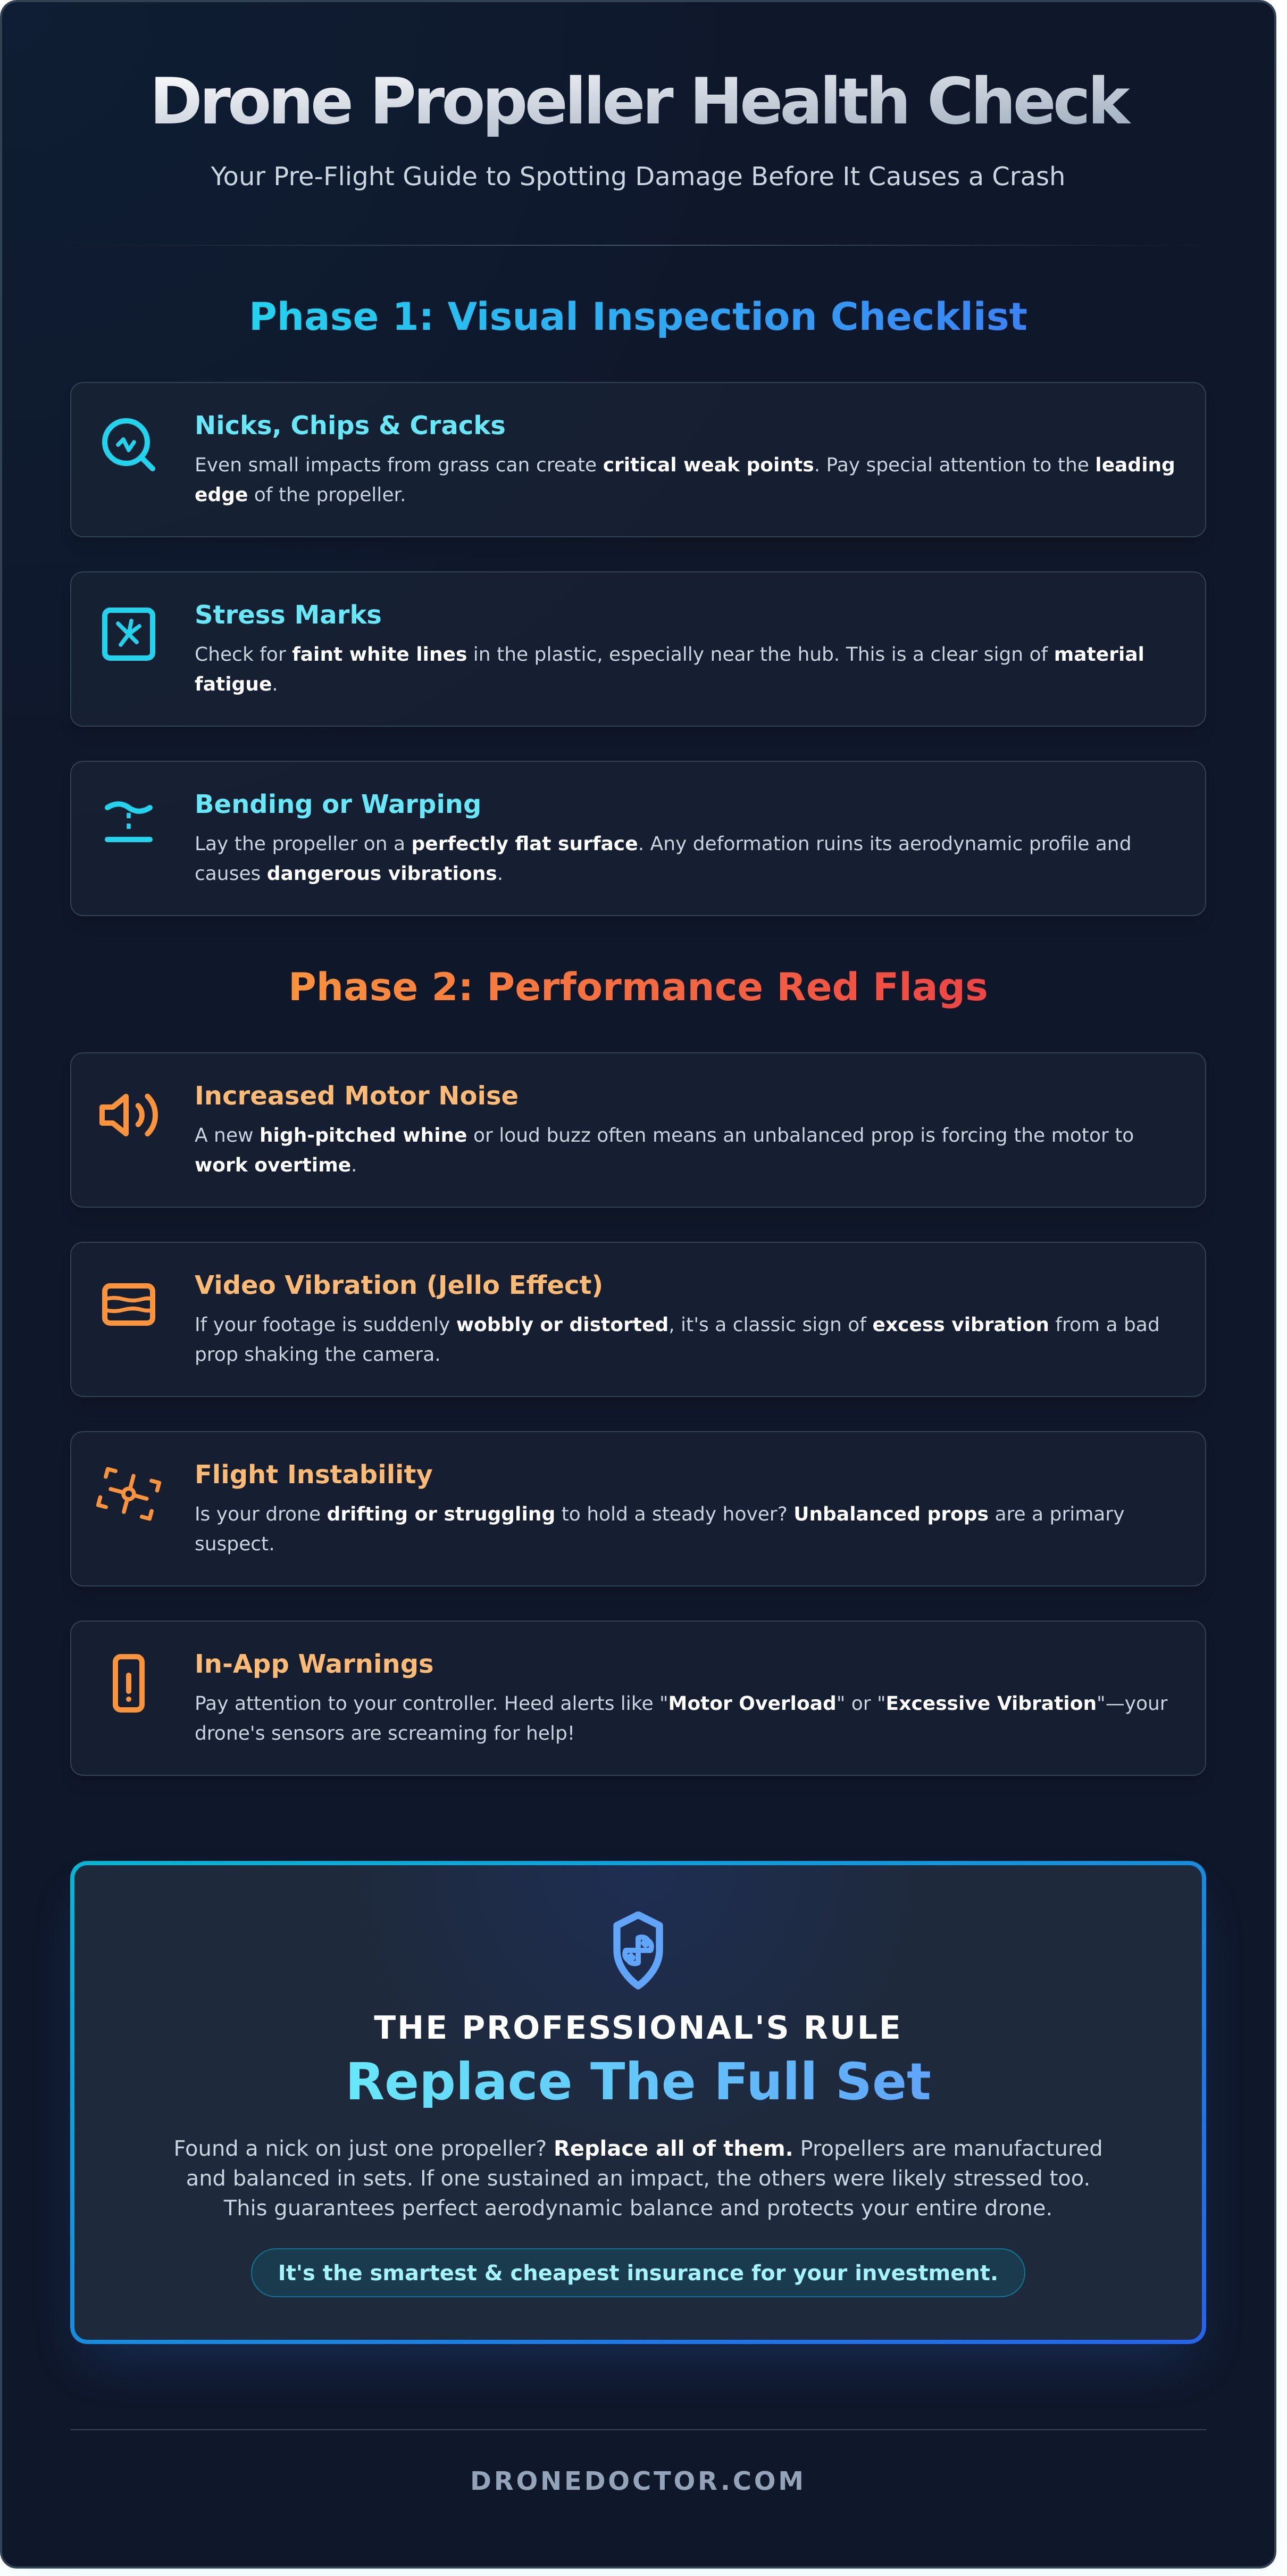
- Nicks, Chips, and Cracks: Pay special attention to the leading edge-the part that cuts through the air. Even small impacts from grass or twigs can create critical weak points.
- Stress Marks: Check for faint white lines in the plastic, especially near the hub where the prop mounts to the motor. This is a clear sign of material fatigue.
- Bending or Warping: Lay the prop on a perfectly flat surface. It should not be bent or deformed in any way, as this ruins its aerodynamic profile and causes dangerous vibrations.
Performance-Based Warning Signs
Sometimes, the damage isn't obvious, but your drone will tell you something is wrong. Listen and watch for these red flags during flight that signal an immediate need for drone propeller replacement:
- Increased Motor Noise: A new, high-pitched whine or an unusually loud buzzing sound often points to an unbalanced or damaged prop forcing the motor to work overtime.
- Video Vibration (Jello Effect): If your footage suddenly looks wobbly or distorted, it's a classic sign of excess vibration from a bad propeller shaking the camera gimbal.
- Flight Instability: Is your drone drifting or struggling to hold a steady hover? Unbalanced props are a primary suspect.
- In-App Warnings: Pay attention to alerts like "Motor Overload" or "Excessive Vibration." Your drone's sensors are screaming for help!
When to Replace a Full Set
Found a nick on just one propeller? Replace the whole set. We know it sounds like overkill, but it's a critical best practice recommended by professionals. Propellers are manufactured and balanced in sets to ensure consistent performance. If one prop sustained an impact, the others were likely stressed as well, even if there's no visible damage. For a few extra dollars, you guarantee perfect aerodynamic balance and protect your entire drone. It’s the smartest and cheapest insurance you can buy for your investment.
Choosing the Right Replacement Propellers: A Buyer's Guide
Choosing the right propellers isn't just about getting back in the air-it's about flight safety and peak performance. The wrong set can lead to unstable flight, reduced battery life, or even a crash. Don't worry, we're here to guide you! This buyer's guide breaks down everything you need for a successful drone propeller replacement, ensuring you make an informed choice for optimal safety and flight characteristics.
Finding Your Drone's Exact Propeller Model
Nailing this step is critical. Your drone is a precision machine, and its propellers are no different. Here’s how to find the exact match, fast:
- Check the Manual: Your drone’s user manual is the most reliable source and will list the specific part number.
- Inspect the Propellers: Look for markings directly on your original props. You'll often find the model number printed near the hub.
- Use Our Website: Simply use the search bar or filter by your drone model on our site to see compatible options instantly.
- Understand Model Specificity: Different drone manufacturers and even various models often use unique, proprietary designs for their propellers. A prop designed for one specific drone model will not fit another.
OEM vs. Third-Party Propellers
You’ve got options! Here’s the breakdown to help you decide. OEM (Original Equipment Manufacturer) props are made by your drone’s manufacturer and guarantee a perfect fit and factory performance. Shop with confidence-this is the safest bet for reliability.
Third-party props can offer exciting alternatives like different colors or specialized, low-noise designs. However, quality can vary wildly. Always buy from reputable brands. Poorly made props can be unbalanced, causing vibrations that damage your motors over time. In fact, extensive propeller performance testing by engineering institutions confirms that precise manufacturing and balance are non-negotiable for stable, efficient flight.
Understanding Propeller Specifications
Ever see numbers like '9450' on a prop? It's not random! This code tells you the prop's size and pitch. For example, '9450' means a 9.4-inch diameter and a 5.0-inch pitch (the distance it travels forward in one rotation). While you can find performance-focused options like tri-blade or stealth props, for most pilots, sticking to the stock specifications is the best and safest choice. It guarantees the flight characteristics your drone was designed for.
Ready to get the right gear? Find the perfect props for your drone right now!
How to Replace Drone Propellers: A Step-by-Step Guide
Ready to get back in the air? Let's dive in! A proper drone propeller replacement is one of the easiest and most important maintenance skills you can learn, and it only takes a few minutes. Don't let a chipped or bent prop ground your flight. We'll walk you through the two most common attachment types used on drones today, from DJI to FPV racers.
The single most crucial step is matching the correct propeller to the correct motor. A mismatch will cause instability and prevent liftoff, or worse, lead to a crash. Following these steps exactly ensures a safe, successful flight and keeps your maintenance practices in line with the high standards of care promoted by resources like the official FAA Drone Safety Guidelines. Let's get it done!
Preparation: What You'll Need
Getting your gear ready makes the whole process smooth and fast. Before you start, gather these essentials:
- Your new propellers. Make sure they are compatible with your specific drone model. If you're not 100% sure, the experts at dronedoctor.com are always ready to help you find the perfect match!
- A small screwdriver or prop tool. This is only needed for screw-on style props, but it's good to have your toolkit handy.
- A clean, well-lit workspace. You don't want to lose a tiny screw on a cluttered desk or in a dark room.
- SAFETY FIRST: Power down your drone and, most importantly, remove the battery. This eliminates any risk of the motors accidentally spinning up while you work.
Step-by-Step for DJI-Style Quick-Release Props
This tool-free system is designed for speed and simplicity. You’ll be done in under a minute!
- Identify & Match: Look closely at your drone. You'll see that two motor arms have a marking (like a white or silver ring), and two do not. Your new propellers will have the same markings. Match the marked props to the marked motors.
- Remove Old Prop: To take a propeller off, gently press it down onto the motor hub and twist it in the direction of the "unlock" symbol. It will pop right up.
- Install New Prop: Place the correct new propeller onto the corresponding motor. Press down gently and twist in the "lock" direction until you feel and hear a satisfying click.
- Confirm Lock: Give the propeller a gentle tug upwards. If it's secure and doesn't lift off, you're good to go!
Step-by-Step for Screw-On FPV-Style Props
Common on FPV and racing drones, this method uses a locking nut or bolts for a rock-solid connection at high RPMs.
- Identify Rotation: These systems use clockwise (CW) and counter-clockwise (CCW) propellers. Your drone manual will show you which motors spin in which direction. The props themselves are often marked with "R" for CW or are shaped differently.
- Unscrew the Old Prop: Use your prop tool or socket wrench to loosen the motor nut. Note that one set of motors will have reverse-threaded nuts (loosens by turning clockwise) to prevent them from flying off in the air.
- Install the New Prop: Place the correct new prop (CW or CCW) onto the motor's threaded shaft.
- Tighten Firmly: Screw the nut back on. Tighten it so it's snug and firm, but do not overtighten! Cranking it down too hard can crack the propeller hub or damage the motor.
Post-Replacement: Essential Pre-Flight Checks
You've installed the new props-awesome work! But before you launch into the sky, there's one final, non-negotiable step. Skipping this professional pre-flight check is a rookie mistake that can lead to a costly crash. A few moments on the ground will ensure your drone propeller replacement was a complete success, giving you total confidence for your next flight. Let's lock it in!
The 'Double-Check' Installation Test
Think of this as your final quality control inspection. Go to each motor and run through this quick, hands-on checklist. It only takes a minute and can save you a massive headache.
- Directional Check: Look at the markings on the propeller and the motor arm. Does the clockwise (CW) prop match the CW motor? Double-check every single one.
- The Tug Test: Gently but firmly pull up on each propeller. If it's a quick-release style, it should feel solidly locked in place with zero give. For screw-on types, ensure there's no wiggle.
- Hardware Check: Visually confirm that all screws or nuts are present and look snug. Nothing should be loose or missing.
- The Freedom Spin: Give each prop a light flick with your finger. It should spin freely for a few rotations without rubbing against the drone's frame or motor housing.
Your First Hover Test
With the physical inspection complete, it's time for the moment of truth. Find a safe, open area away from people and obstacles. Power on your drone and controller, then arm the motors but do not take off yet. Listen carefully for any unusual rattling, grinding, or excessive vibration. If all sounds normal, gently take off and hover at a low altitude of 3 to 5 feet for about 30 seconds. Watch for any wobbling or instability. If your drone is holding its position smoothly, your replacement was a success. Go fly!
Still Having Issues?
If your drone immediately flips over on takeoff, it's almost certain that you have the propellers on the wrong motors (CW on a CCW motor, or vice-versa). Power down immediately and revisit the directional check. If you notice persistent vibrations that weren't there before, you might have a bent motor shaft from the initial incident. Don't risk it if something feels wrong. A compromised drone is an unsafe drone.
Not sure what's wrong? Don't guess. Let our expert technicians diagnose it for you! We're the leader in drone repair and service, and we're here to get you back in the air safely.
Get Back in the Sky with Confidence!
You've now mastered the essentials of drone propeller care! Remember, regular inspections for nicks and stress marks are your first line of defense against in-flight failure. Pairing this vigilance with the correct installation technique and a thorough pre-flight check ensures every launch is smooth and safe. Mastering a simple drone propeller replacement is one of the most empowering skills any pilot can have, guaranteeing more airtime and peak performance from your machine.
Ready to upgrade or replace? Don't let a damaged prop keep you grounded! As an Official Dealer for DJI, Autel, and more, we have the exact props you need. Shop with confidence knowing you're getting genuine parts, and with our fast shipping across the US, you'll be flying again in no time. And if the job feels too big, our expert repair services are always here to help.
Shop our full range of replacement propellers and get back in the air!
Now, go fly safe and capture something amazing!
Frequently Asked Questions
Can I fly with a just slightly chipped or bent drone propeller?
Absolutely not! Even a tiny chip or slight bend creates a dangerous imbalance. This causes intense vibrations that can strain your motors, ruin your video with a "jello" effect, and lead to a catastrophic in-flight failure. The risk of a crash is extremely high. For your drone's safety and your own, immediately ground your drone and replace any damaged propeller. Don't risk a total loss for a part that costs a few dollars!
Do I need to replace all four propellers if only one is damaged?
While you don't always need to replace all four, we strongly recommend replacing them in pairs. Your drone’s propellers are balanced to work together (e.g., front-right and back-left). Replacing just one can introduce subtle imbalances in weight and thrust, affecting flight stability. For peak performance and the most stable flight, replacing the damaged prop and its corresponding partner on the opposite arm is the best practice. When in doubt, a fresh set of four ensures perfect harmony.
How often should I replace my drone propellers, even if they aren't damaged?
Think of propellers as the tires on your car-they wear out over time. We recommend a full drone propeller replacement every 200-300 flight hours. Even without visible damage, the plastic can develop micro-fractures from stress, which can lead to a sudden failure in the air. Performing a pre-flight check for any nicks or stress marks is crucial, but a proactive replacement schedule is the ultimate safety measure. Act NOW and keep your drone flying flawlessly!
What happens if I put a clockwise (CW) propeller on a counter-clockwise (CCW) motor?
Your drone will not take off and will most likely flip over instantly. Propellers are designed to generate lift by pushing air downwards. Installing a propeller on the wrong motor reverses its function, causing it to push air upwards instead. This creates negative lift on that corner of the drone, leading to immediate, uncontrollable instability upon arming the motors. Always double-check that the propeller markings match the correct motor before you fly!
Are carbon fiber propellers better than the standard plastic ones?
It depends on your flying style! Carbon fiber props are much stiffer, offering increased thrust and faster response times-perfect for FPV racing and aggressive aerial maneuvers. However, they are also more brittle and can shatter on impact, potentially damaging your drone. Standard plastic propellers are more flexible and durable, making them more forgiving in minor crashes. For most everyday pilots and aerial photographers, high-quality plastic props provide the best balance of performance and reliability.
Will replacing my propellers void my drone's warranty?
No, performing a standard drone propeller replacement will not void your warranty. Propellers are considered consumable parts that are expected to be replaced regularly. As long as you use official OEM propellers or high-quality third-party props designed specifically for your drone model, your warranty remains intact. However, if damage is caused by using an incorrect or low-quality propeller, that specific repair may not be covered. Shop with confidence and always use the right parts!